We are halfway through our Kickstarter campaign and have reached 82% of our funding goal – now that’s something to celebrate!
Our Kickstarter campaign aims to launch our very first seasonal science kit. STEM into Christmas is a science kit with a difference: each science activity results in a fun, interactive Christmas card that your child can give to their friends and family. The cards are as fun to make as they are to receive, and feature colour-changing chemistry, photochromic decorations that change colour under sunlight, a hydraulic Santa rescue system and a box of rainbows!
You can get your hands on one of our Christmas Explore Boxes and other great rewards by backing our Kickstarter campaign here. Our first Christmas kits will be shipped on 29th November, with plenty of time to make and hand out the cards before Christmas!
In the meantime, we are sharing some of our ideas for science-powered Christmas cards that didn’t make it into the final box. We’re sharing the instructions to make the Rocket Card (see our previous post) and Optical Illusion cards. They are fun to play with and interesting to experiment with, but didn’t quite fit the bill for our science kits because they didn’t require any special or unusual materials. You could make both of them right now with things you have around the house!
Making an Optical Illusion Card
This card is based on the Pico in a Cage experiment from Explore Box 2: Science Sorcery and Investigate Box 2: Science up your Sleeve. It takes advantage of our eyes’ refresh rate. When you are looking at an image and it is taken away your eyes, nerves and brain hold on to the image and you still sort of see it for a tiny fraction of a second. By quickly flicking between two pictures, our brain blends them together as one.
This card uses the principle to superimpose decorations onto a naked Christmas tree, or a ruby-red nose onto Rudolph.
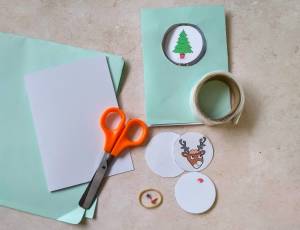
You will need
- Blank Christmas card
- These templates
- Split pins
- Glue dots or glue stick
- Craft sticks
- Rubber band
- Pencil
- Scissors
To do
Print and cut out the templates.
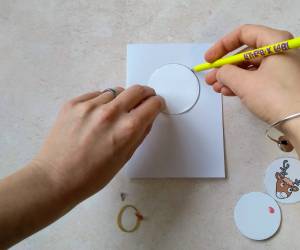
Draw around the big circle from the template onto the front of the card and cut it out.
Insert a split pin above and below the cutout shape (inserting them from the front of the card), and stretch a rubber band between them on the inside.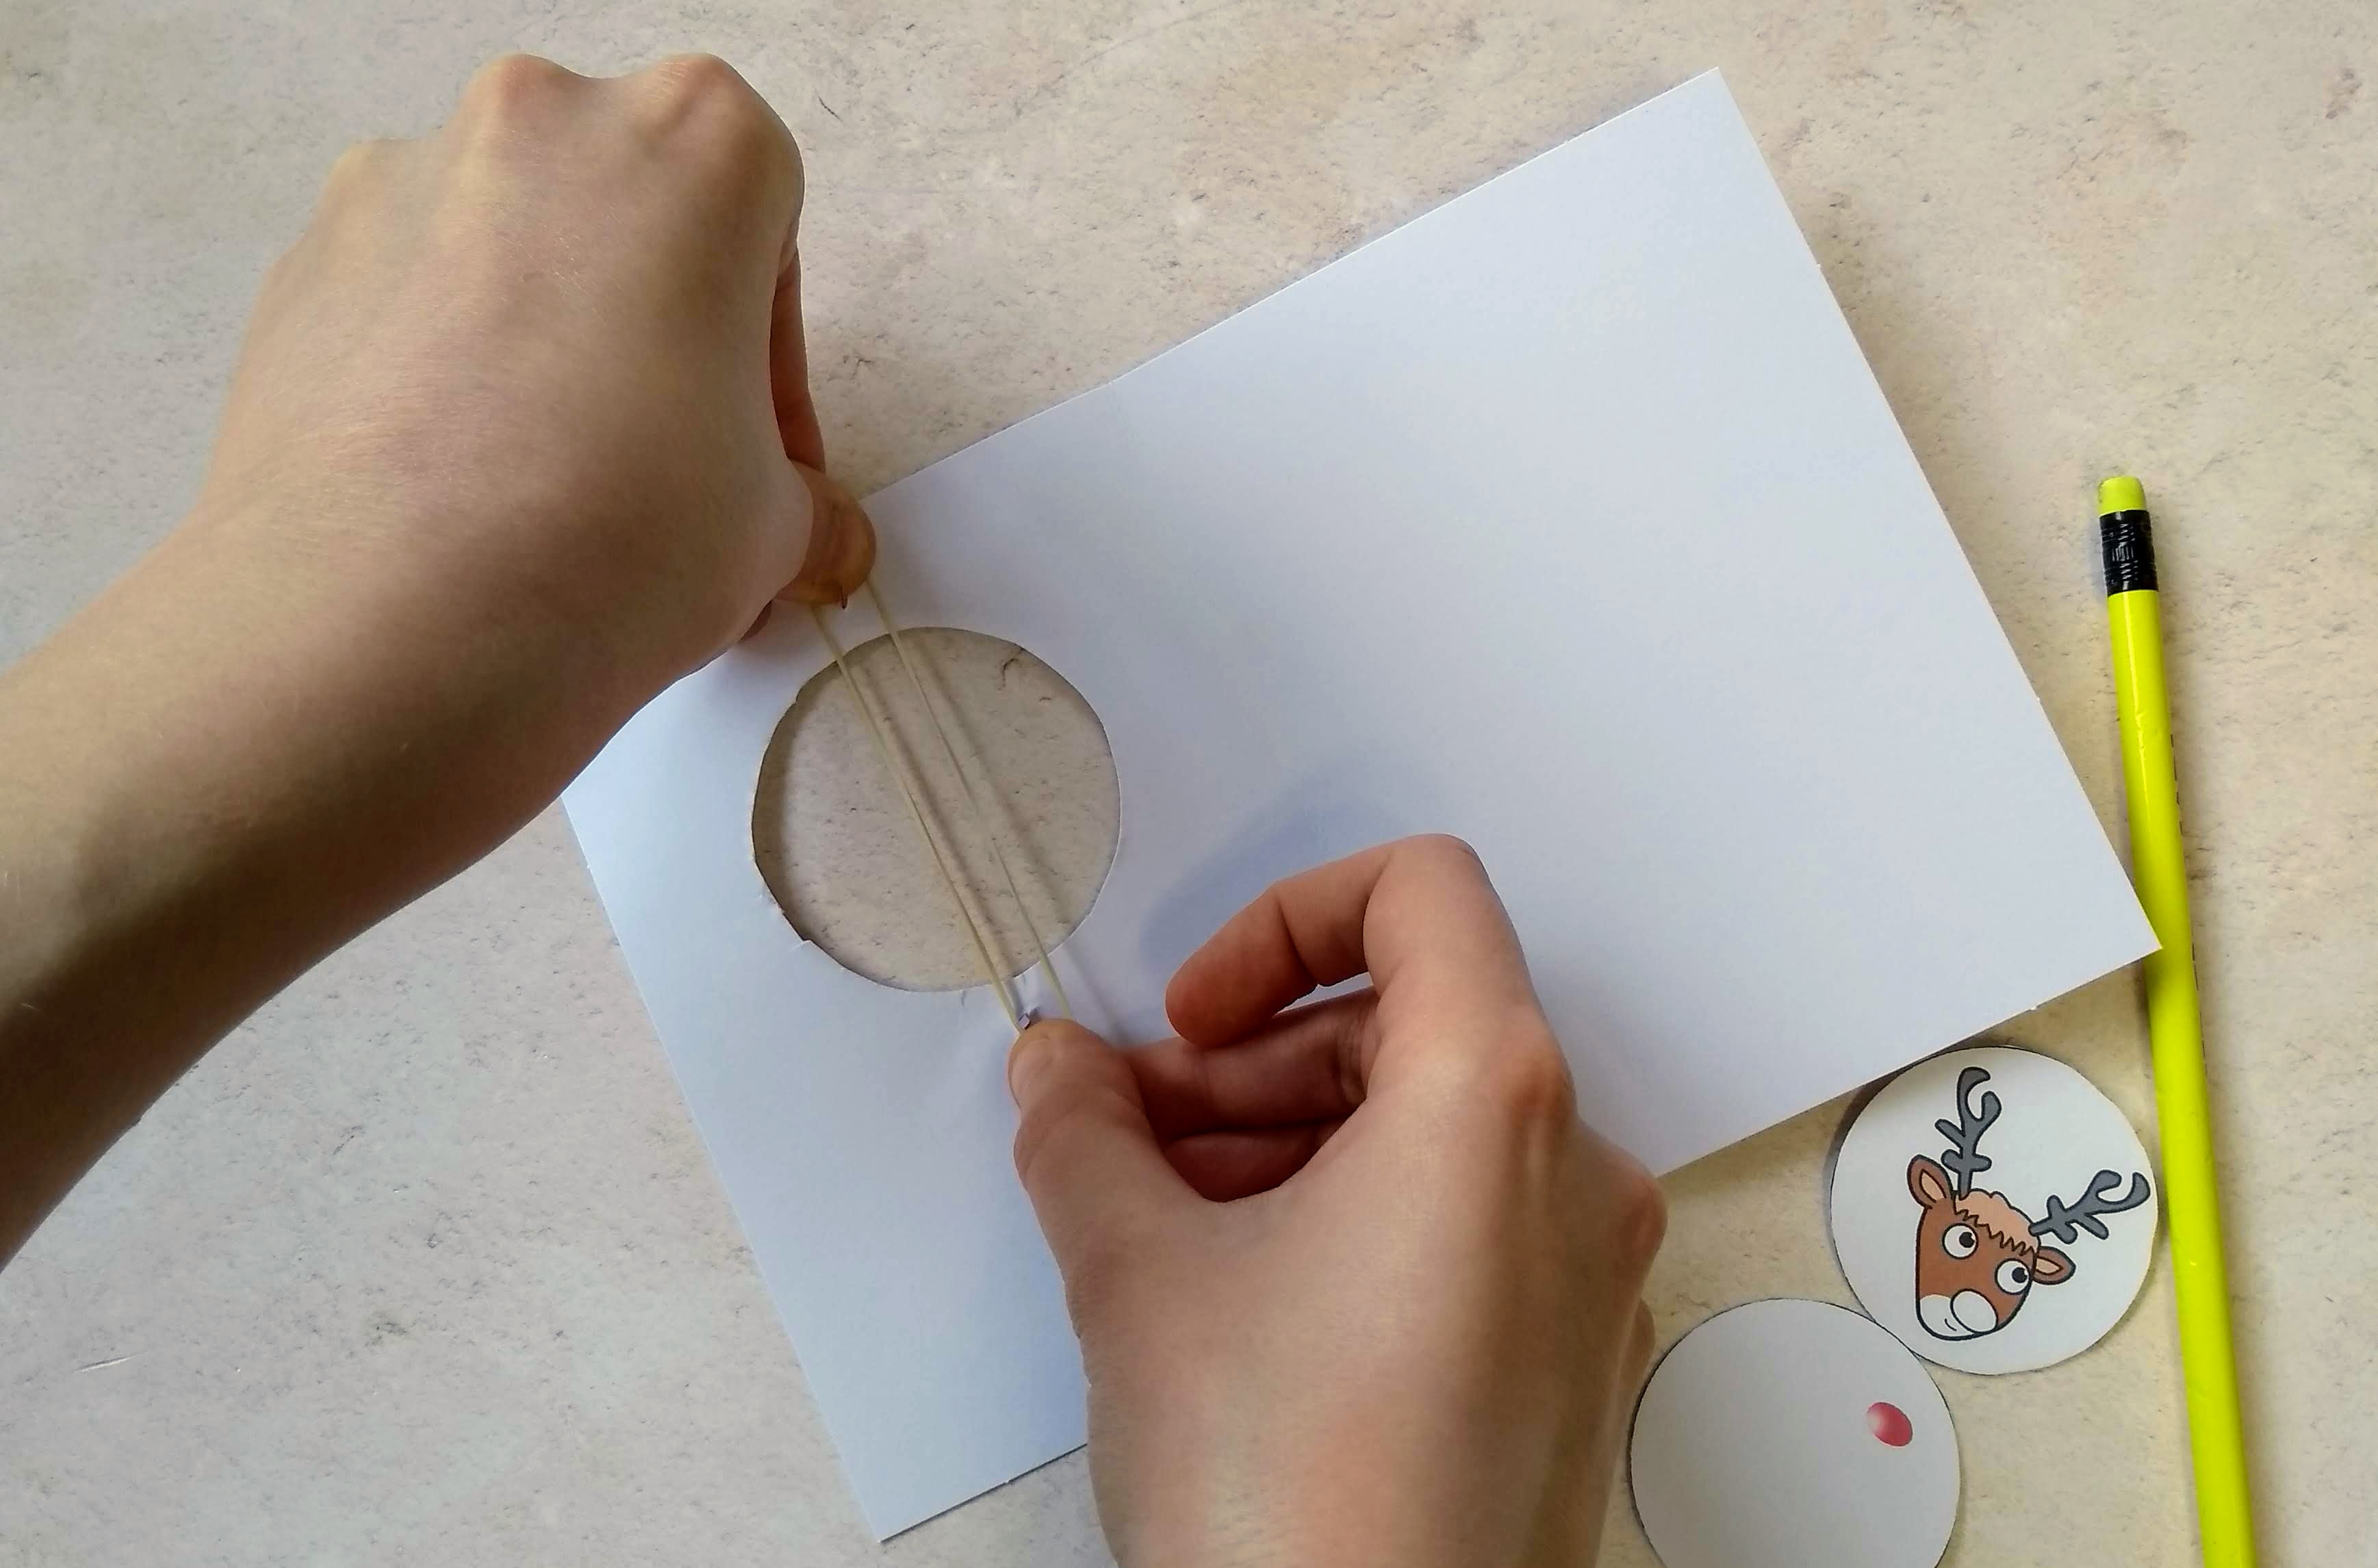
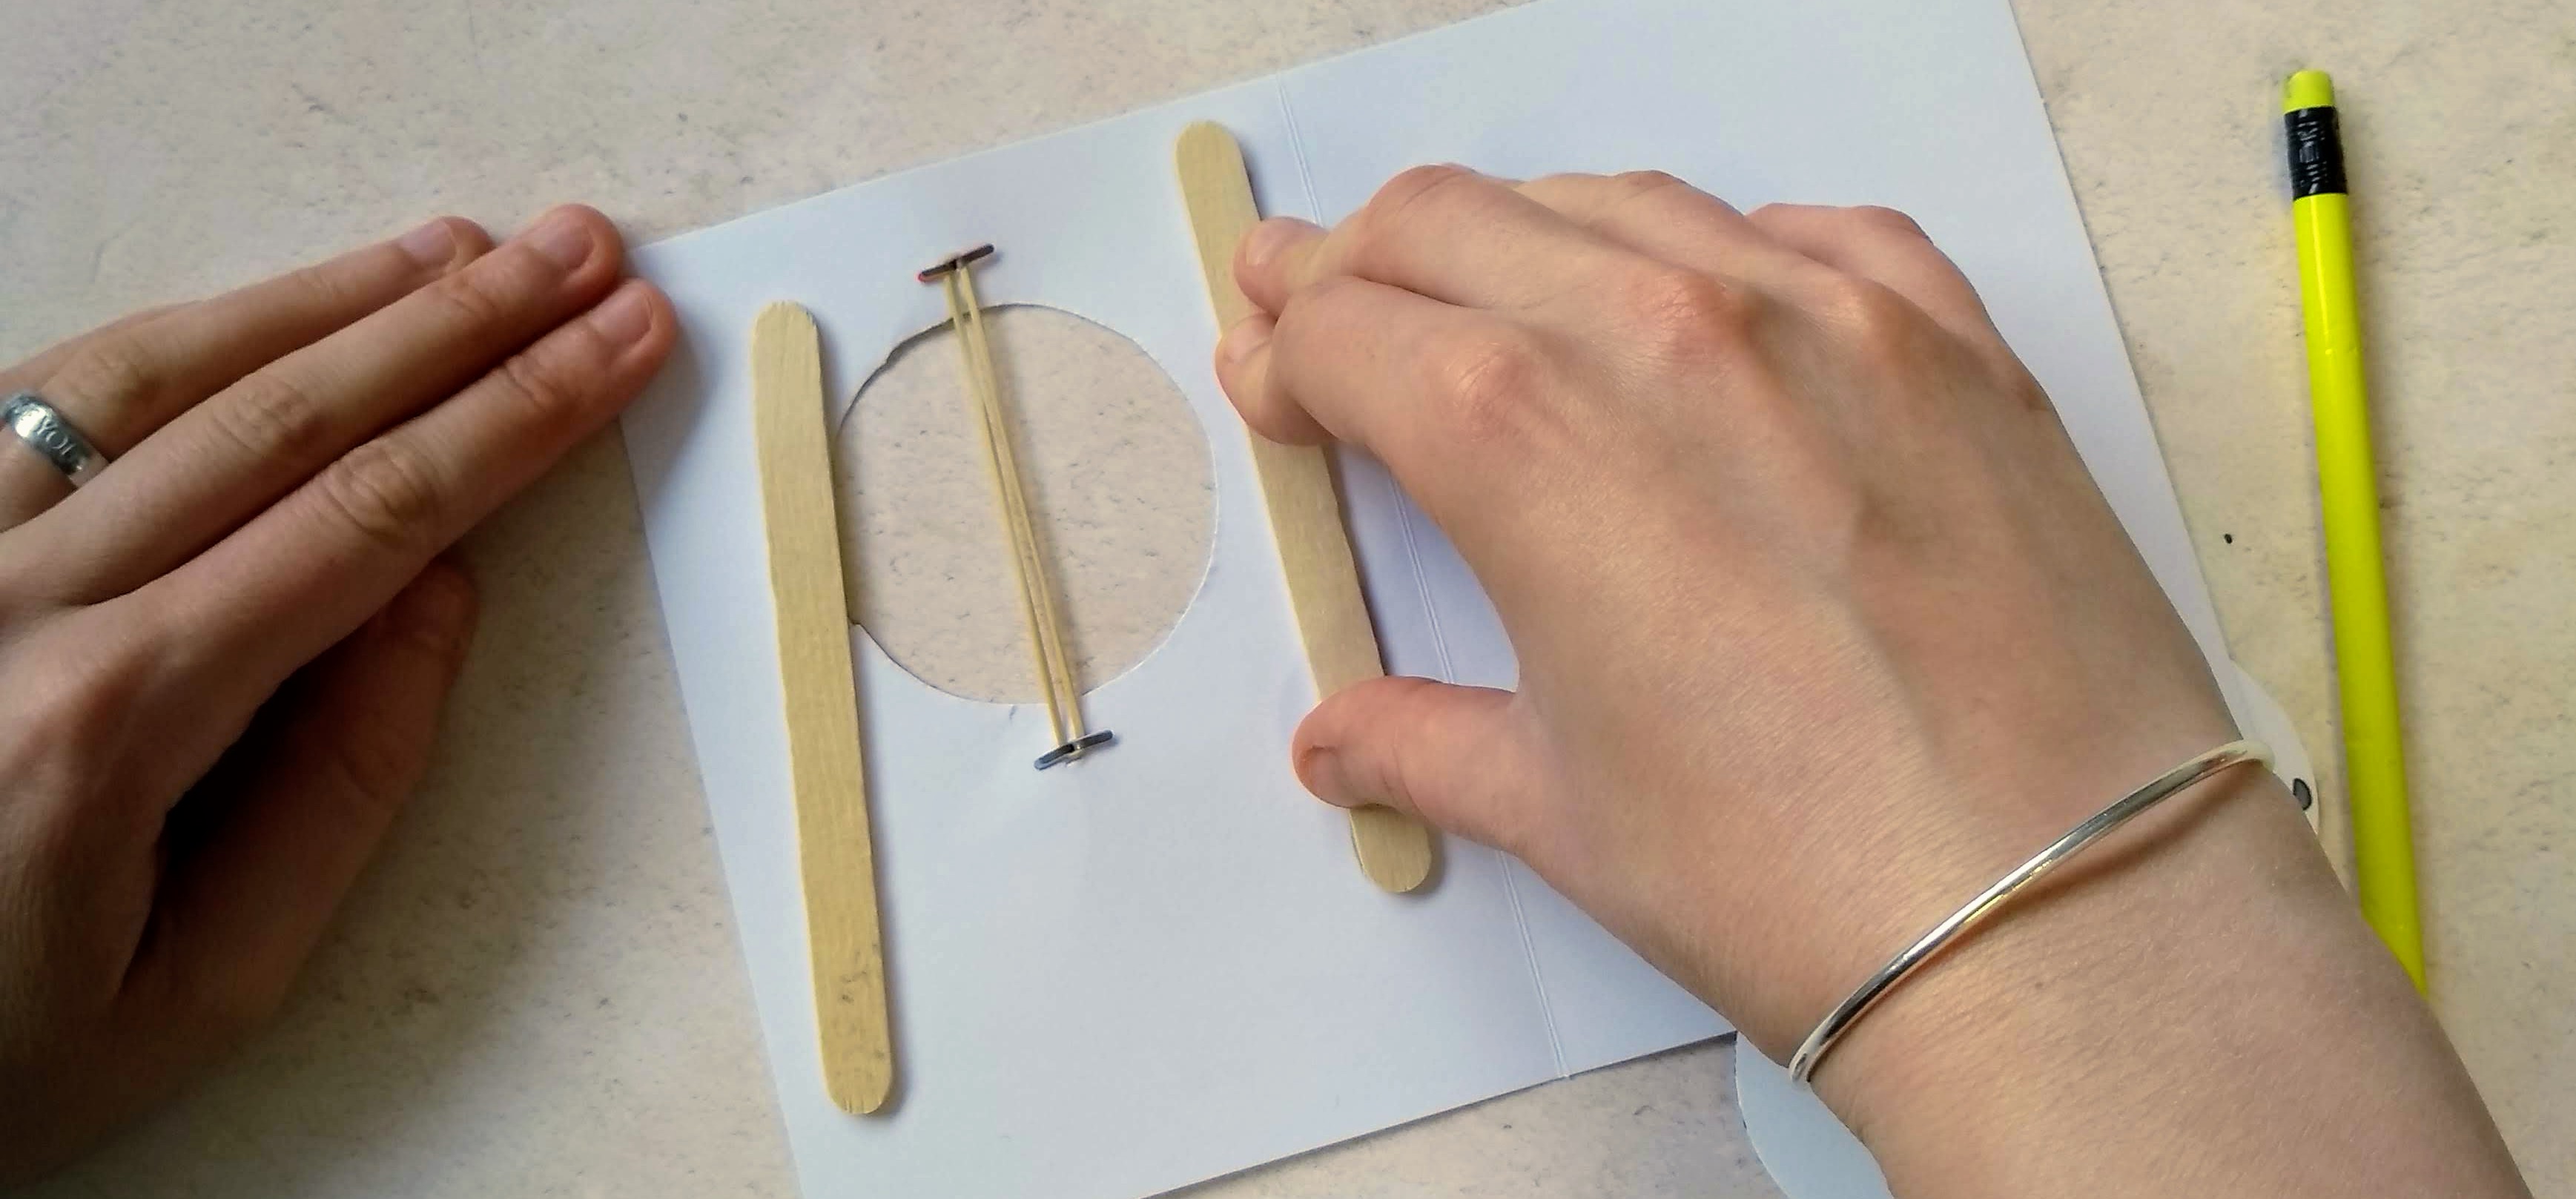
Stick a craft stick vertically on either side of the cutout to support the card. The rubber band might make it buckle.
Insert one of the double image templates in between the two sides of the rubber band with the connecting fold at the bottom, and place a glue dot at the top.
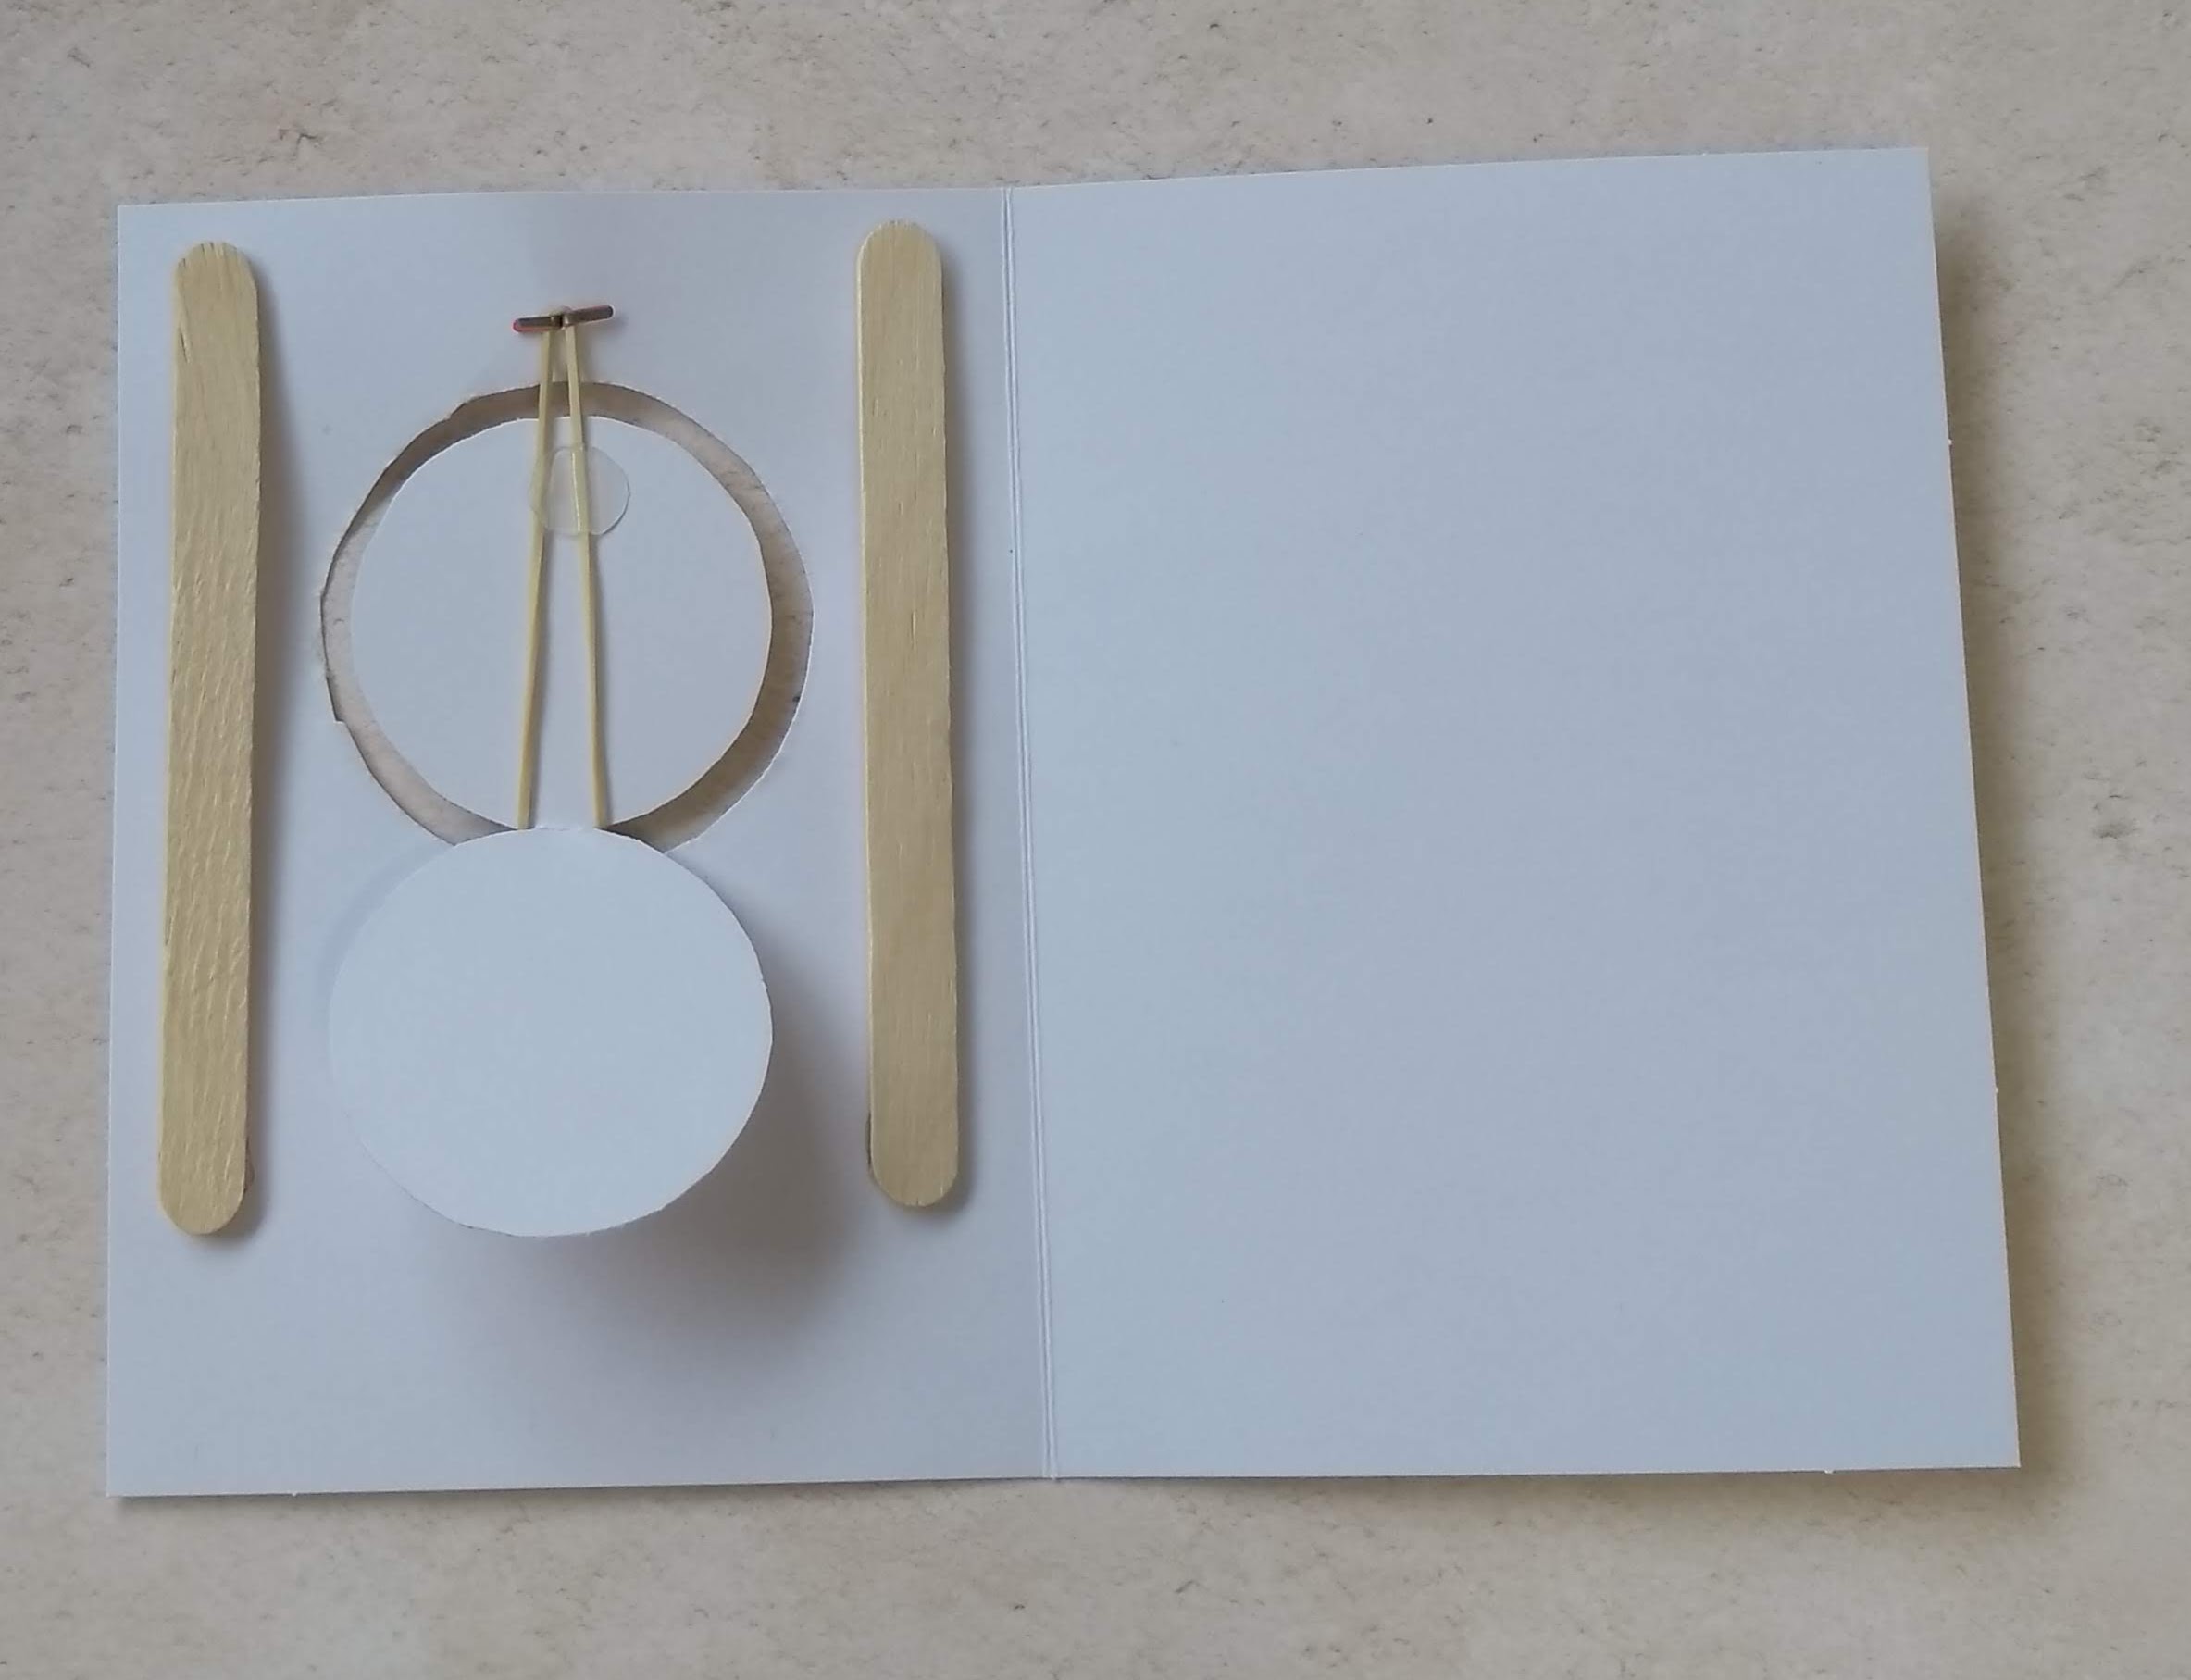
Fold them over so they are stuck in the middle of the cutout with an image on each side.

If you want to cover the split pins at the front, draw around the card and cutout onto some coloured paper, cut it out and stick it over the top.
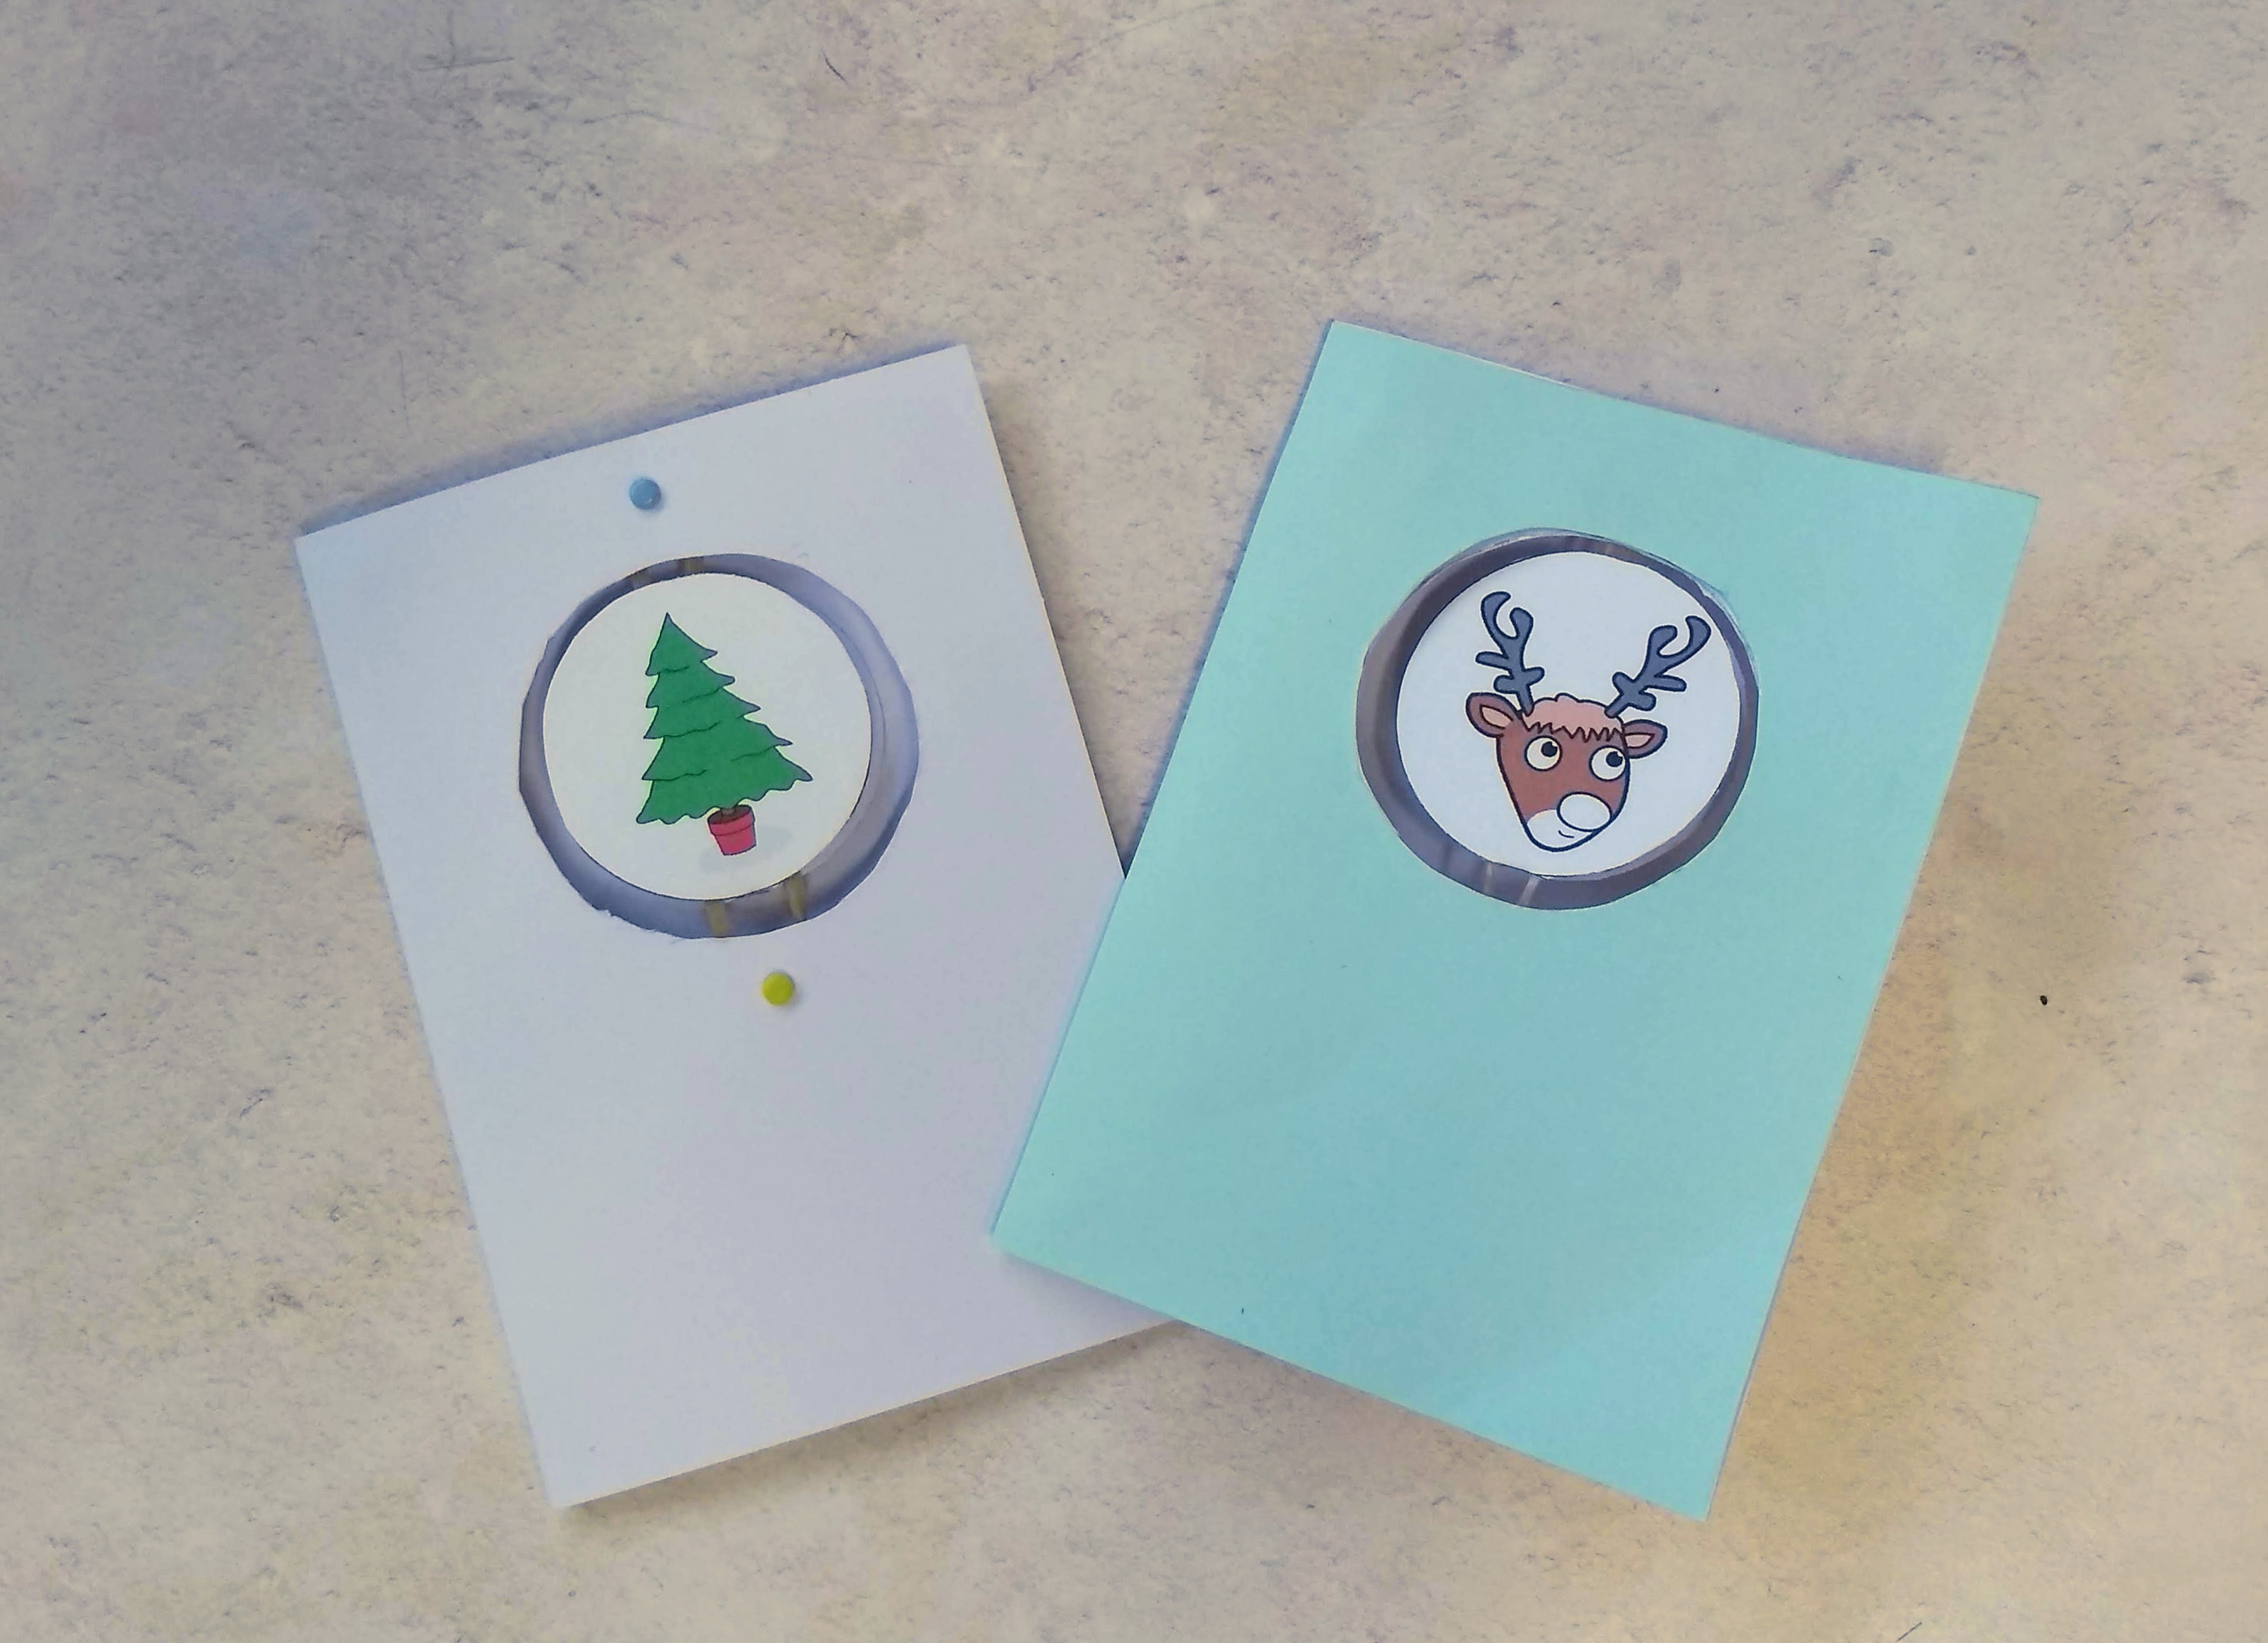
All that’s left to do is experiment! Wind it up by turning the image disks around, then let go. Your eyes won’t be able to keep up with the disk as it spins and will blend together the images on the front and back. So you’ll have a decorated Christmas tree and Rudolph will have a very shiny nose!
Happy Experimenting.
Add Comment